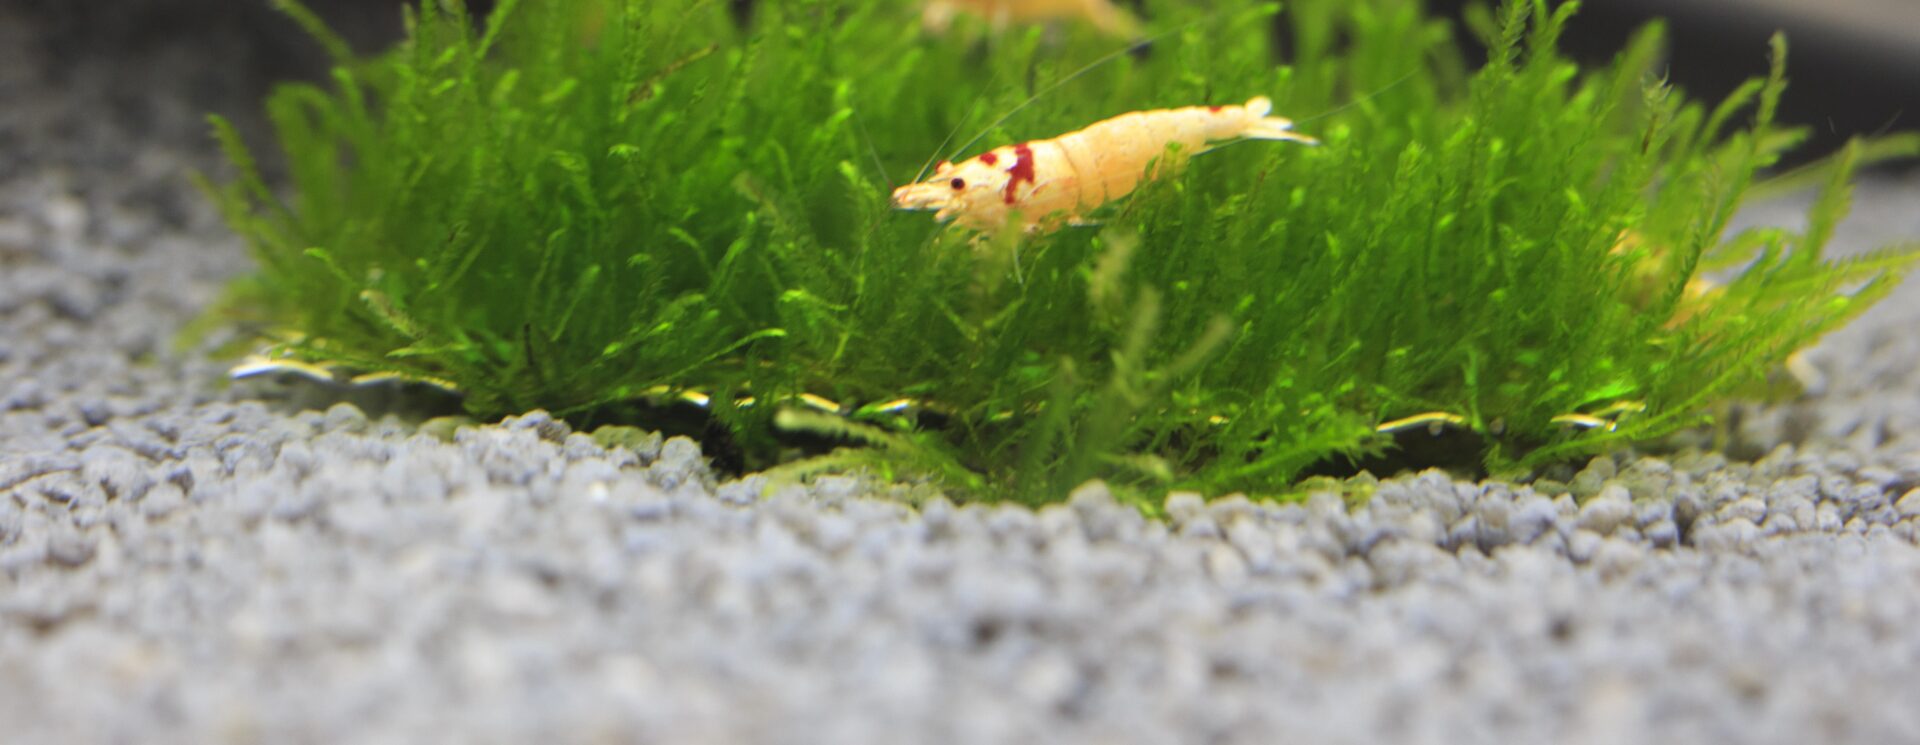
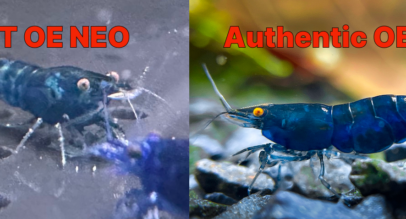
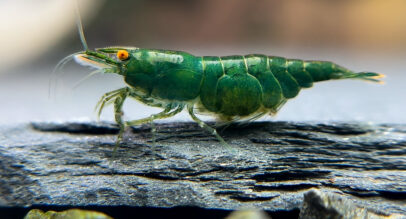
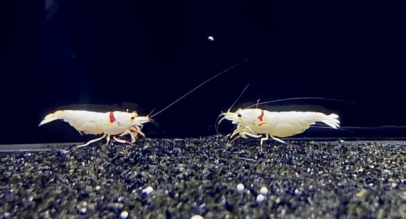
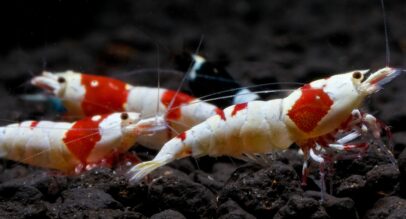
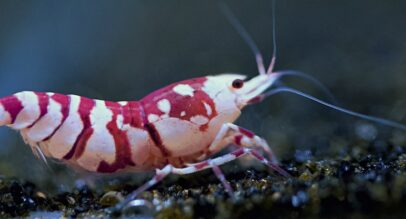
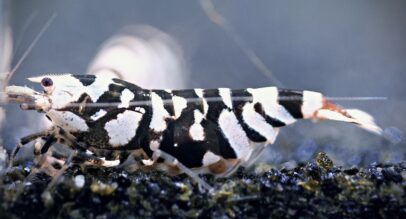
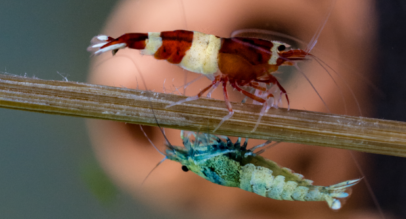
For hobbyists keeping Caridina shrimp-like Crystal Red Bees, King Kongs, Black Pintos, or Blue Bolts, using an active soil substrate is often recommended. These shrimp require very specific water parameters – a low pH of around 5.4-6.2, soft water with a GH of 4-5, and virtually no carbonate hardness (KH 0-1). To achieve this, RO/DI remineralized water is typically used along with an active soil that helps buffer the water to the desired acidic, soft range.Active soils contain humic substances that naturally acidify and soften the water below a pH of 7. This makes them ideal for Caridina species. Additionally, these nutrient-rich soils provide key minerals for lush plant growth and have a porous structure that supports the colonization of beneficial bacteria.Resetting a tank with active soil is a necessary evil when it comes to maintaining optimal water parameters. But over time, the buffering capacity of the soil depletes, leading to fluctuations that can stress and harm shrimp. Regular resets ensure consistent water quality, preventing issues such as shrimp stress, egg loss, and reduced survival rates of shrimplets.Active soil plays a crucial role in shrimp keeping by providing a stable and enriched environment. It releases essential nutrients like tannins and trace elements, fostering healthy shrimp growth and breeding. The soil’s buffering ability helps maintain stable water parameters, creating an optimal ecosystem that supports the well-being of shrimp and other aquatic life in the tank.
When to Replace Active Soil
Most quality active soil brands will start to lose their buffering capacity and nutrient contents after around 8-12 months of use. Once this happens, the soil is considered “expired” and will no longer effectively acidify and soften the water to the optimal pH and hardness levels caridina shrimp require.
Signs that your active soil substrate may be expiring include:
Tank water pH and hardness rising above the desired range (pH over 7.0, GH over 5)
These signs often coincide with nutrient depletion in the substrate and can also signal the substrate is breaking down and becoming compacted. Replacing or refreshing the active soil helps restore nutrients and balance the water chemistry in line with neocaridina blue carbon shrimp pH requirements.
Poor plant growth due to nutrient depletionSubstrate becoming overly broken down and compactedAn increase in livestock deaths, especially shrimplets struggling with moltingReduced breeding activitySlower growth rate, especially in shrimpletsIf you notice any of these issues arise, it’s likely time to replace the soil substrate with a fresh batch. Allowing the parameters to drift too far out of the caridinal-safe range can quickly become detrimental and lead to losses.
Methods of Resetting
Full Reset
The most comprehensive method is to completely break down your existing tank. Remove all shrimp, plants, and hardscape and thoroughly siphon out every bit of the old substrate. Give the tank a good cleaning, then refill with fresh new active soil substrate of your choice. You’ll need to run this newly set up tank through another full cycle before reintroducing your shrimp colony. While labor intensive, this option allows you to completely reset and replace the degraded substrate.
Topping Method
Some shrimp keepers try topping their existing substrate with a thin layer of new active soil. This carries the risk of an ammonia spike, so it should be done very gradually over weeks if attempting with livestock present. It’s generally considered safer to remove shrimp first before attempting this method.
External Treatment
You can pre-treat and start the cycling process for new active soil externally before adding it to your display tank. Options include soaking it in buckets of dechlorinated water and doing frequent water changes until ammonia subsides. Or you can set up the new soil in a separate cycled tank or tub with an ammonia source to fully establish it before transferring it to your main tank.
Dry Start Method
Certain heavily ammonia-leeching active soils like ADA Amazonia are best treated with a dry start. Simply spread out the new soil, plant any hardscape, and then lightly mist the soil to keep it damp. Allow it to cycle and stabilize for 4-6 weeks before finally flooding the tank with water. This prevents any ammonia spikes by allowing it to fully process first.While a full reset is the most comprehensive, the other methods can work well if done diligently. The key is properly cycling and stabilizing any new active soil substrate before introducing your valuable shrimp colonies to it. With some planning and preparation, you can successfully reset your buffering substrate.I prefer a “soft reset” approach as opposed to a “hard reset”. A hard reset is when you tear down everything and replace all filter media, just like setting up a brand-new tank. Here are the steps I follow for a soft reset:1. Remove all shrimp and transfer them to another cycled tank or large breeder box temporarily.2. Drain out all the old tank water.3. Remove the used active soil substrate completely. I find a small Python water changer works well for this.4. Give the tank a quick rinse/wipe down if needed to remove any detritus.5. Refill the tank with fresh reverse osmosis remineralized water.6. Add a fresh batch of new active soil like ADA Amazonia or Controsoil. I typically use around 1 inch of substrate depth.7. Rinse out any filter sponges/media in old tank water to prevent crashing the cycle. I replace around 10-20% of the filter media with new fresh media.8. Allow the new tank to cycle for around 4-6 weeks before reintroducing the shrimp colony back.I find this method lets me quickly reset the buffering substrate while still maintaining the matured filter media and beneficial bacteria colony. The small bioload from the shrimp allows me to do this partial reset without risking an ammonia spike.Avoiding a full teardown makes the reset process much quicker and easier for me. Working with a thinner active soil layer means less mess and faster resets compared to using deep soil or underneath a unionized gravel bed.The key is having a spare cycled tank(s) to temporarily house your shrimp while their main home gets renovated.
Importance of Temporary Housing and Spare Tanks
One of the biggest challenges when resetting an active soil substrate is having a place to temporarily house your valuable shrimp colony while the main display tank gets refreshed. This is where having a spare cycled tank(s) becomes extremely beneficial.I’ve found that keeping at least one extra cycled tank stationed and ready to go is invaluable when it comes time for tank resets. An aged, mature tank with established filter media provides a perfect temporary home for your shrimp to reside in safety as you restart their normal tank.I try to have a separate 5-10 gallon cycled tank always running and seeded with lots of live plants and biofilm ready as a holding tank. When it’s reset time, I transfer the entire shrimp colony to this side tank before breaking down the main display tank.If I don’t have a full-cycled tank available, I’ll set up a large plastic tub or plastic tote with mature filter media and plenty of java moss or other plants to provide cover. It’s not as ideal as a cycled tank, but will work in a pinch.For larger or more valuable colonies, splitting them up into multiple temporary housing tanks helps reduce bioload stress during resets. Using breeder boxes lets you temporarily isolate different groups.Having this temporary housing ready ahead of time makes the reset process much smoother, whereas trying to rush a new tank cycle can lead to losses. I’m able to take my time restarting one tank without rushing livestock back in before it’s stable.
When to Delay Resetting Your Active Shrimp Soil
While periodic resets of the active soil are recommended, there are certain situations where it may be better to postpone performing a substrate change. Timing is important to avoid potential stresses that could impact the shrimp colony.Berried or Saddled Females Present – If you have berried or saddled female shrimp carrying eggs, you may want to consider delaying any major tank overhauls like a substrate reset. The disruption and fluctuations that occur could potentially cause females to drop their eggs prematurely before hatching. It’s best to avoid resetting until after females have recovered from their current berry cycle.Water Parameters In Ideal Range – Another factor is if your current water parameters are testing in the ideal range for the shrimp species, even with an older soil substrate. As long as pH, GH, KH, and TDS levels are being properly buffered still, there may not be an urgent need to replace the soil yet. If the system is still stable and suitable, postpone resetting until parameters start drifting out of range.Normal Breeding and Behavior – Closely monitor your shrimp colony’s behavior and breeding rates. If they continue to exhibit normal breeding activity at the expected pace for that species, it can indicate the buffers are still performing adequately despite older soil. As long as you aren’t seeing a decline in breeding frequency or offspring production, leaving the current substrate may be preferable.Essentially, if the current situation is working for your shrimp with no signs of issues, it’s okay to delay a reset until either water parameters start slipping or you notice other signals that it’s time for a substrate change. Performing resets during optimal windows when the colony is stable prevents any unnecessary stresses.

